Last updated on August 31, 2024
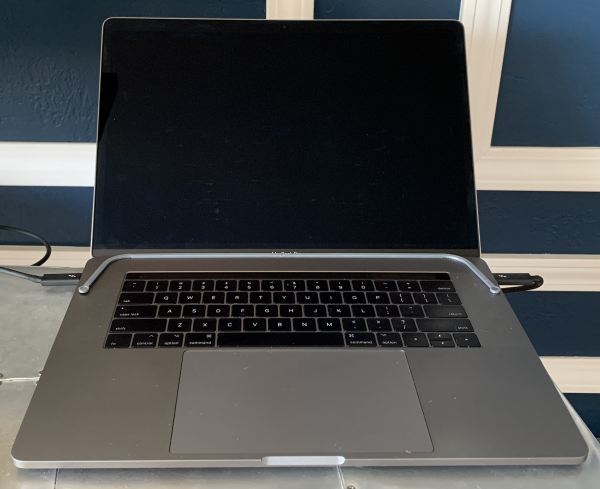
I’ve had a Touch Bar Macbook Pro for three years. It’s generally been running fine, but as of late, it’s starting to make more fan noise than necessary. With my previous 2014 unit, I would operate in clams hell mode. I’m not sure if that the official name, but I did this by putting a magnet around the frame. This fooled the OS into thinking the lid is closed so it would disable the built-in display eliminating the graphics overhead. I had tried this years ago after I upgraded to the newer model, but it didn’t work. I spent some time googling back then and didn’t find the solution. Then again this week, the fans spun up and I said to my self enough and that I’ll figure this out. After all, how hard can this be? Famous last words.
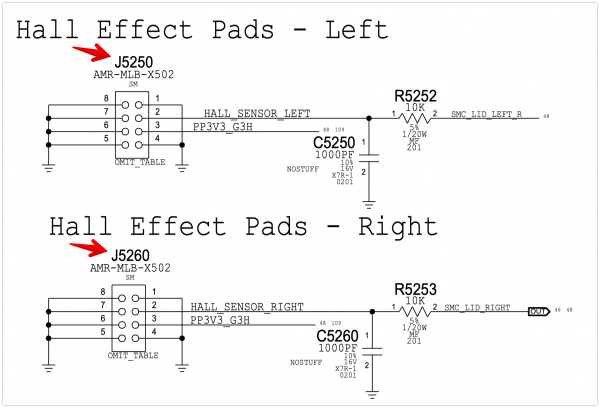
I thought I’d have a quick and dirty solution for this in a few minutes…famous last words. I started off by googling again to see if there was a solution since my original searches but it was a waste of time. I’ve watched a handful of Louis Rossmann videos over the years and remembered that I should be able to track down some schematics online. After finding the schematics, I was able to locate the name of the hall sensor for determining the lid position. On the schematics, its called out as J5250. At this point, I figured out why I couldn’t get it to work with my previous “slide a magnet around the perimeter until the screen turned off” tactic. The newer design uses two hall effect sensors to prevent false positives.
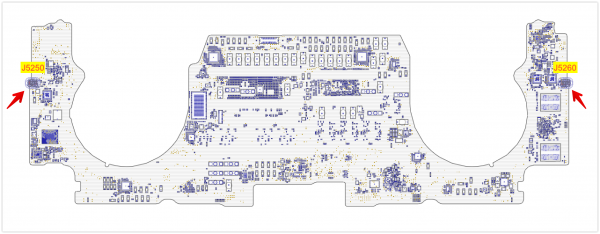
Now I knew what the chip was called, just not where it was located. So I had to find the board view files for the main logic board. Then they wouldn’t open in Eagle, so I found Open Board View which opened the file without issues. Finally, this showed me where the sensors are located. I did some testing to confirm the location of these sensors to trigger the console mode. Unfortunately, there is something magnetic near the sensors that pulls the magnets away so they don’t stay in place. So I continued down the path of unnecessary overbuilt solution.
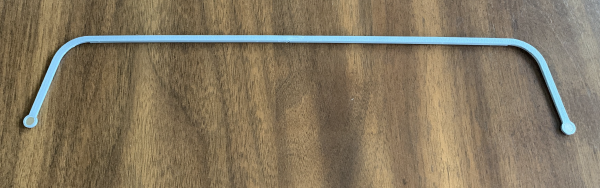
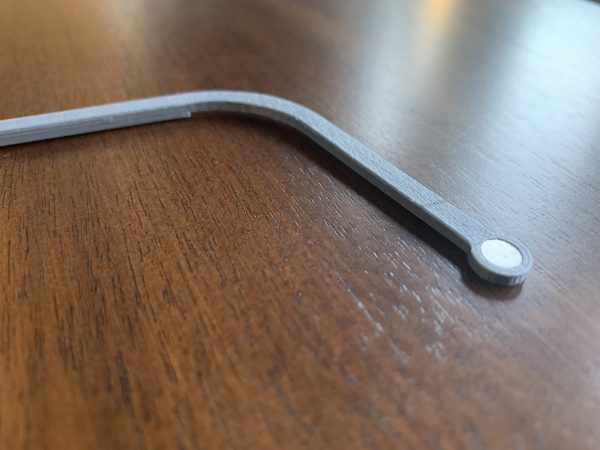
So I went into Fusion and designed a mount to hold the 6mm round neodymium magnets in place. I had to split the part in two as it’s too big for a single print and then hit the print button.
And here it is, in all its simple glory:


And here it is in action in the real world:
This design makes it easy to place in the right spot and turn off the screen in one easy move. Here are the files if you want to print your own:
Documents that I used for reference:
- My machine: MacBook Pro w/ Touchbar 15.4″ 3.1GHz Core i7 (A1707, MPTU2LL/A, MacBookPro14,3) [source]
- My logic board: Apple PN: 661-07829 / Manufacturer PN: 820-00928 [source]
- Schematic for APPLE MACBOOK PRO 15 A1707 X363G MLB [source]
- Board View File for Logic Board [source]
- Open Board View for viewing the PCB [source]
Be First to Comment